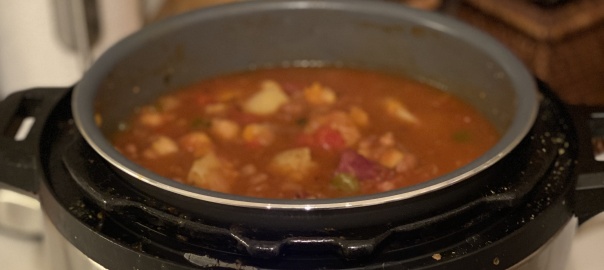
Minestra di Fagioli (Bean Soup)
Modified by Elli for the Instant Pot from a recipe on Tablet.
Ingredients:
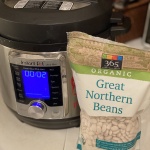
- 1 lb. Great Northern beans ((you can add some chickpeas too!)
- or your choice of beans. White, Northern etc.
- 1 large onion (diced)
- 1 clove garlic (chopped)
- 1 large carrot (peeled and cut into 3/4-inch-thick rounds)
- 1 large tomato (several cherry tomatoes, or 1 heaping tablespoon tomato paste)
- or
- 1 can Diced tomatoes ( with juice)
- 4 cups Vegetable broth ((Chicken or Beef broth also works))
- 2 cups 7 oz. uncooked maltagliati, ditalini, or gramigna pasta
- Optional: 1/2 bunch Swiss chard (stemmed and sliced into ribbons)
- Optional: 2 tablespoons unsalted butter
- Optional: 2 tablespoons Parmesan cheese
- Optional: Baked Meatballs or cooked ground beef ((Meatball recipe in notes below))
- Freshly ground pepper to taste
- Salt to taste
- 2 tablespoons chopped parsley
Instructions:
- Soak the beans overnight in cold water in a soup pot. Drain the beans and replace the water to cover by about 2 inches. Bring to a boil and simmer, covered, for an hour, skimming off any froth that forms.
- or
-
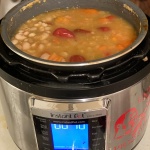
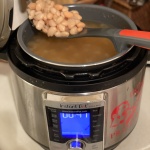
Place 1 lb of dry beans in the Instant Pot.
-
Add 8 cups of water and diced onion.
-
Add 2 or 3 cloves peeled garlic, optional : 1 bay leaf
-
Add 1 to 2 teaspoons salt
-
Don’t skip the olive oil. This helps reduce foam during cooking, which could clog the pressure valve on the pressure cooker.
-
Cook beans at high pressure for the 40 minutes. The pressure cooker will take 15 to 20 minutes to come to full pressure before cooking begins.
-
Once cooking is complete, you can let the pressure release naturally on its own, which takes about another 40 minutes, or you can do a “quick release” by opening the pressure valve on the top of the pressure cooker.
-
If doing a rapid release, protect your hands from the steam with oven mitts or use a long-handled spoon to manipulate the pressure valve. If you notice a lot of foamy liquid coming out stop the QR and wait a few more minutes.
- I recommend letting the pressure release naturally for as long as you’re able before the beans are needed. This helps the beans retain their shape.
-
Carefully drain into a colander, rinse well (optional – I don’t), and put the beans back in the Instant Pot.
- Skip all the above if using canned beans.
- Add the onions, garlic, carrot, and the broth.

- Add the tomatoes.
-
Secure the lid and Pressure cook for 15 minutes.
-
Let the IP NPR (natural pressure release) for at least 10 minutes then you can either wait for NPR to finish or you can then do a QR (quick release) depending on how much of a hurry you’re in to eat this amazing soup!
-
After release, carefully open the IP and add the pasta to the soup. Allow to cook for 10-12 minutes to desired doneness. Note: You may have to add some more broth or water after the pasta has cooked as it WILL soak up some liquid as it cooks.

-
If not ready to eat just yet, when you are ready to serve, reheat the soup and add chard to soup to cook for a few minutes.
- Optional: Stir in the butter and Parmesan cheese.
-
Taste and be ready to season with more salt and pepper if needed.
-
Serve sprinkled with the parsley.

Note: You can puree half the beans to make the soup thicker, and add other vegetables to the soup to make it your own.
Oven Baked Italian Meatballs Recipe: http://www.broadwaykingdom.com/oven-baked-italian-meatballs/